October 08, 2026
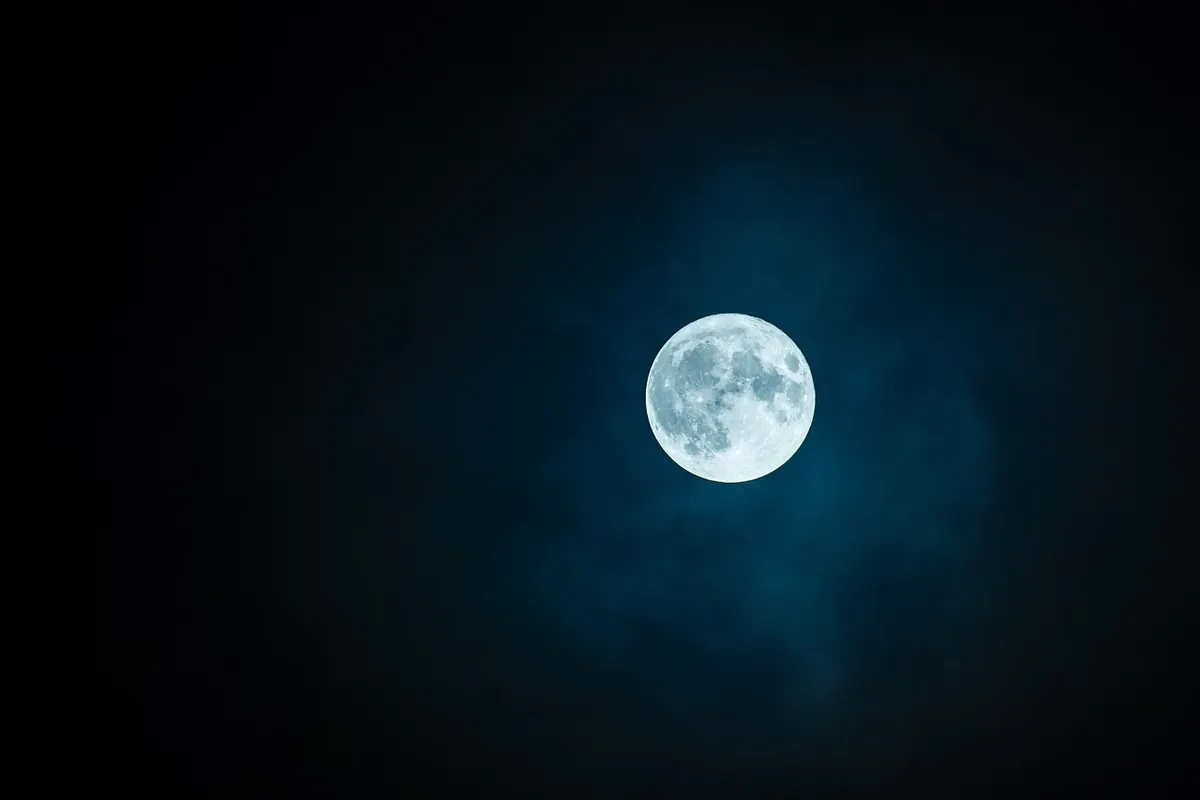
The full moon is the easiest object in the night sky to find and one of the hardest to photograph well. Almost everyone's first attempt looks the same: a small white coin in a black frame, no craters, no texture, nothing to suggest the thing that pulled tides and started a thousand myths. The fix is rarely a better camera. It is timing, exposure, and something in the foreground to give the moon a sense of scale.
No telescope required. A camera with a zoom lens will do, and in some cases a phone braced on a wall will do nicely. What follows is a working checklist for a clear full moon night: the planning, the settings, twelve shots worth trying, and the small mistakes that quietly ruin an otherwise good evening.
Plan Around Moonrise, Not Midnight
The best full moon photographs happen within roughly half an hour of the moon clearing the horizon, either at evening moonrise or at moonset before dawn. Two reasons. The moon sits low and close to familiar objects, which gives it scale — a ridge, a chimney, a row of poplars. And the sky still holds colour. A moon in deep blue or faint orange reads far better than a moon in absolute black.
Check the moonrise time for your exact location before you leave. It shifts by roughly fifty minutes each day, so last month's schedule is useless. Planetarium apps and weather sites give you the time and the compass bearing, and the bearing is the part most people forget. You want to know not just when the moon appears but where. Arrive early, choose your foreground, and set up facing that direction before the moon shows itself. Twenty minutes of waiting beats twenty minutes of running across a field with a tripod.
One practical example: if the moonrise bearing is 104 degrees east-southeast, do not simply drive east until you see open sky. Find a landmark that sits near that bearing from your chosen spot — a church tower, a line of trees, a bridge — and build the frame around it. The moon will rise behind your subject only if you have checked the geometry in advance. A compass app and a moon-tracking app are more useful than a bag of extra lenses on this kind of shoot.
Also remember that the full moon rises around sunset and sets around sunrise. That makes the evening moonrise the easier session for most people, but moonset can be quieter and moodier. If you shoot at dawn, arrive with enough time to set up in near-darkness and keep an eye on the western horizon. The moon can disappear into haze before you have finished adjusting your tripod.
The Only Camera Settings You Need
The moon is a sunlit rock in daylight. That is the mental model that solves most exposure problems. It is not a dim object; it is a very bright object against a very dark background, and your camera's meter will average the two and hand you a glowing white disc with no surface detail. Work in manual mode and start from the old "looney 11" guideline: at f/11, use a shutter speed of roughly 1/ISO, so ISO 100 gives about 1/100 sec.
- Start at ISO 100, f/8, 1/125 sec. Adjust shutter speed first, in thirds of a stop, until the dark plains — the maria — appear.
- Use live view and expose by eye. Zoom into the moon on the screen at 5x or 10x and trust what you see over what the meter claims.
- Shoot RAW. Full moon files often need a little highlight recovery.
- Switch image stabilization off when the camera is on a tripod. Some lenses behave badly when stabilization hunts for movement that is not there.
- Focus manually in live view. Autofocus often hunts on a bright disc in a dark sky. Zoom in, focus on the edge of the moon or a large crater, and then leave it alone.
- Use a tripod and a delayed shutter or remote release. Even a small vibration at 300mm is visible as a soft moon edge.
- Bracket if the sky is bright. Three frames at one-stop intervals gives you room to choose a natural-looking sky without blowing out the lunar surface.
Expose for the moon, not the sky. The sky can be recovered later; a pure white moon cannot.
What Lens Do You Actually Need?
You do not need a telescope, but you do need some reach. A 200mm lens on a full-frame camera gives a moon that is small but usable in a wide landscape. A 300mm to 400mm lens is a better working range for moonrise shots because it compresses the foreground and the moon together. A 600mm lens makes the moon larger still, but it also magnifies every mistake: tripod shake, atmospheric haze, and a foreground that is suddenly too far away.
On a crop-sensor camera, a 300mm lens behaves like a 450mm lens, which is a real advantage here. With a phone, skip the digital zoom if you can. Instead, brace the phone against a wall or railing, tap to focus on the moon, drag the exposure slider down until the surface detail appears, and use a two-second timer. The result will not match a long lens, but it can still make a clean, moody image when the moon is low and the sky has colour.
Twelve Shots to Try Without a Telescope
Treat this as a shot list, not a contract. Pick three or four that suit your location and spend the rest of the evening improving them rather than rushing through all twelve.
- Moonrise over a familiar skyline. Find a skyline you know well and place the moon just above it. The point is recognition: a water tower, a row of rooftops, a bridge. Use a long lens to make the moon large enough to balance the buildings, and expose for the moon so the skyline becomes a clean silhouette.
- The urban canyon. Stand in a street with tall buildings on both sides and catch the moon in the gap between them. This works best at blue hour, when windows still have detail and the strip of sky is not yet black. Keep the camera level and use the buildings as a frame within the frame.
- Moon framed by branches. Trees make a messy foreground look intentional. Position the moon in a gap between branches, focus on the moon, and let the branches go dark. A little wind can soften the edges, so wait for a lull if you can. The result feels more like a place and less like a specimen.
- Moon over water. A lake, river, or harbour gives you a second moon — a broken reflection on the surface. Shoot from a low angle, include the far bank or a jetty for scale, and use a shutter speed fast enough to freeze ripples if you want texture. A long exposure smooths the water but may blur the moon's reflection into a column of light.
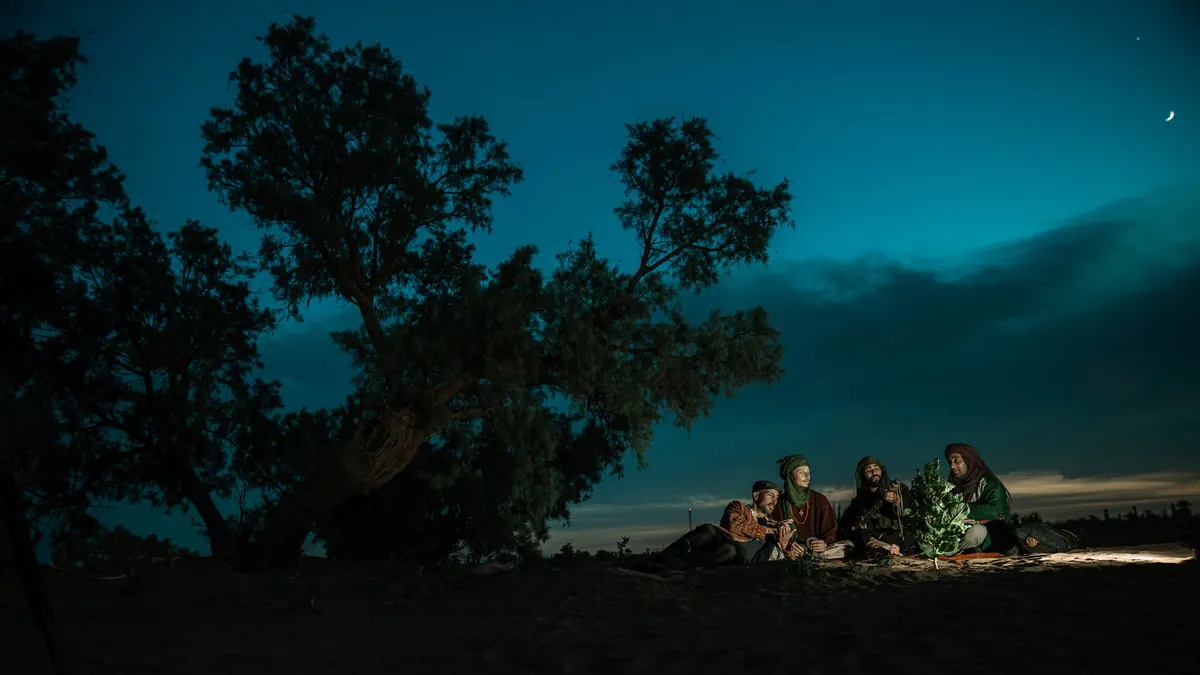
- The tiny human silhouette. Put a person on a ridge, a pier, or a rooftop and let them look toward the moon. They do not need to be large in the frame. A small figure gives the moon scale and tells a story. Expose for the moon and let the person become a silhouette, or add a small flash if you want detail.
- The compressed landmark. Use a long lens to pull a distant landmark — a lighthouse, a monument, a wind turbine — close to the moon. You will need to scout the alignment in advance, because the moon moves quickly and the window may last only a minute or two. Arrive early, check the bearing, and be ready before the moon reaches the landmark.
- Moon with a passing plane or bird. These are opportunistic shots, but you can improve your odds by framing the moon and waiting. A plane crossing the disc takes a fraction of a second; a bird takes luck. Keep both eyes open, use a fast shutter speed, and do not chase the moment so hard that you forget to check focus.
- Moon through a window or doorway. Shoot from inside a dark room, through a window, and use the frame as a border. Clean glass matters. A doorway in an old building can be even better, with the moon sitting in the opening like a lamp. Watch for reflections and turn off interior lights.
- The forced-perspective "holding the moon." This is the playful shot: a person appears to hold, pinch, or carry the moon. It works best with a long lens, a distant subject, and careful alignment. Put the person close to the camera and the moon far away, then adjust until the sizes match. Take several frames, because small shifts in position break the illusion.
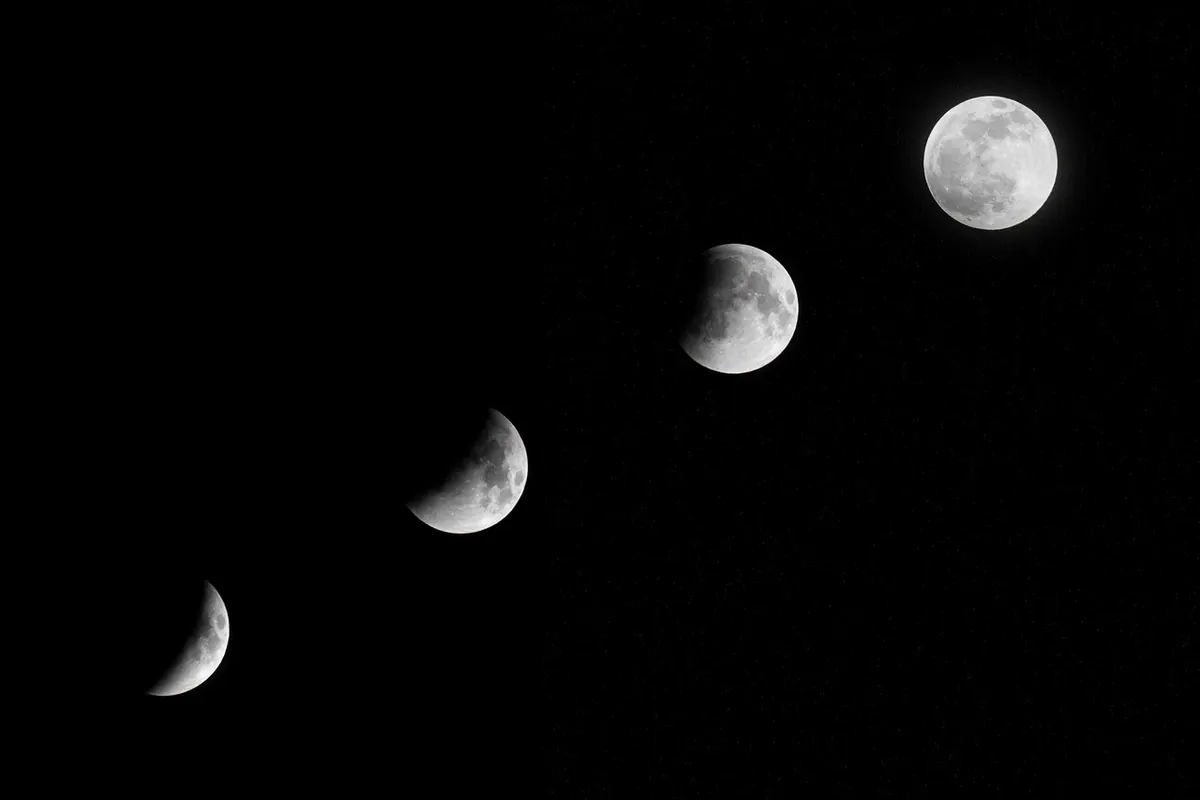
- The moon sequence. Set the camera on a tripod and take a frame every few minutes as the moon rises past a landmark. Later, combine the frames or simply present a triptych of three stages. This is less about a single hero image and more about showing movement. Keep the exposure consistent and do not change the framing between shots.
- Blue-hour city lights. Wait until the sky is a deep blue but the streetlights are still on, then place the moon above a road or bridge. The mix of warm artificial light and cool sky gives the image depth. Expose for the moon, then lift the shadows slightly in post so the city does not become a black mass.
- The crater close-up. This is the simplest shot and the one most people skip. Use your longest lens, put the camera on a solid tripod, focus manually in live view, and expose for the surface detail. The moon may be small in the frame, but a clean crop can reveal the maria and a few bright craters. Try it at different phases, too; the full moon is bright, but the terminator line near a quarter moon shows more texture.
Common Mistakes That Ruin a Full Moon Shoot
The first mistake is arriving too late. If you show up when the moon is already high and white, you have lost the colour, the scale, and most of the drama. The second is letting the camera meter decide the exposure. It will protect the dark sky and destroy the moon. The third is forgetting the foreground. A moon alone is a record; a moon with a place in front of it is a photograph.
Another quiet killer is vibration. At 300mm or more, a tripod on a wooden deck, a windy rooftop, or a bridge with traffic can soften the moon's edge. Hang a bag from the tripod hook, use a remote release, and avoid touching the camera during the exposure. If the foreground is much darker than the moon, do not simply lengthen the shutter speed until the moon blurs. Take one frame exposed for the moon and another exposed for the foreground, then blend them later — or light-paint the foreground with a small torch during a separate exposure.
Finally, watch the atmosphere. A moon low on the horizon can look orange and soft, which is beautiful, but haze and heat shimmer can also smear the craters. If the moon looks watery through the viewfinder, wait a few minutes for it to rise higher or for the air to settle. And clean your lens. A single smudge becomes a glowing halo around the brightest object in the frame.
A Simple Field Checklist
- Check moonrise or moonset time, compass bearing, and weather for your exact location.
- Scout a foreground in daylight if possible, or arrive early enough to choose one in comfort.
- Bring a tripod, a long lens, a remote release or timer, and a small torch for light painting.
- Set ISO 100, f/8, and 1/125 sec as a starting point; switch to manual mode and RAW.
- Turn off image stabilization, focus manually in live view, and zoom in to check the moon's edge.
- Expose for the lunar surface, then bracket if the sky is still bright.
- Shoot the moonrise sequence, then stay for blue hour and a few foreground variations.
- Review the histogram and the moon's texture on the back screen before you leave the location.
Post-Processing Without Making It Look Fake
Full moon files usually need less editing than people expect. Pull down the highlights if the surface is clipping, lift the shadows gently if the foreground is too dark, and leave the moon's edge alone. Over-sharpening creates a bright halo that looks unnatural against a dark sky. If you blend two exposures, keep the moon's position and size consistent and avoid pasting in a moon from a different night — the light direction and colour rarely match.
A good full moon photograph should still feel like a place you could stand in. The moon can be bright, the foreground can be dark, and the sky can be blue or orange or nearly black. What matters is that the image has scale, texture, and a reason for the moon to be there. Start with the moonrise window, expose for the rock rather than the night, and give yourself one foreground subject to work with. The rest is patience.
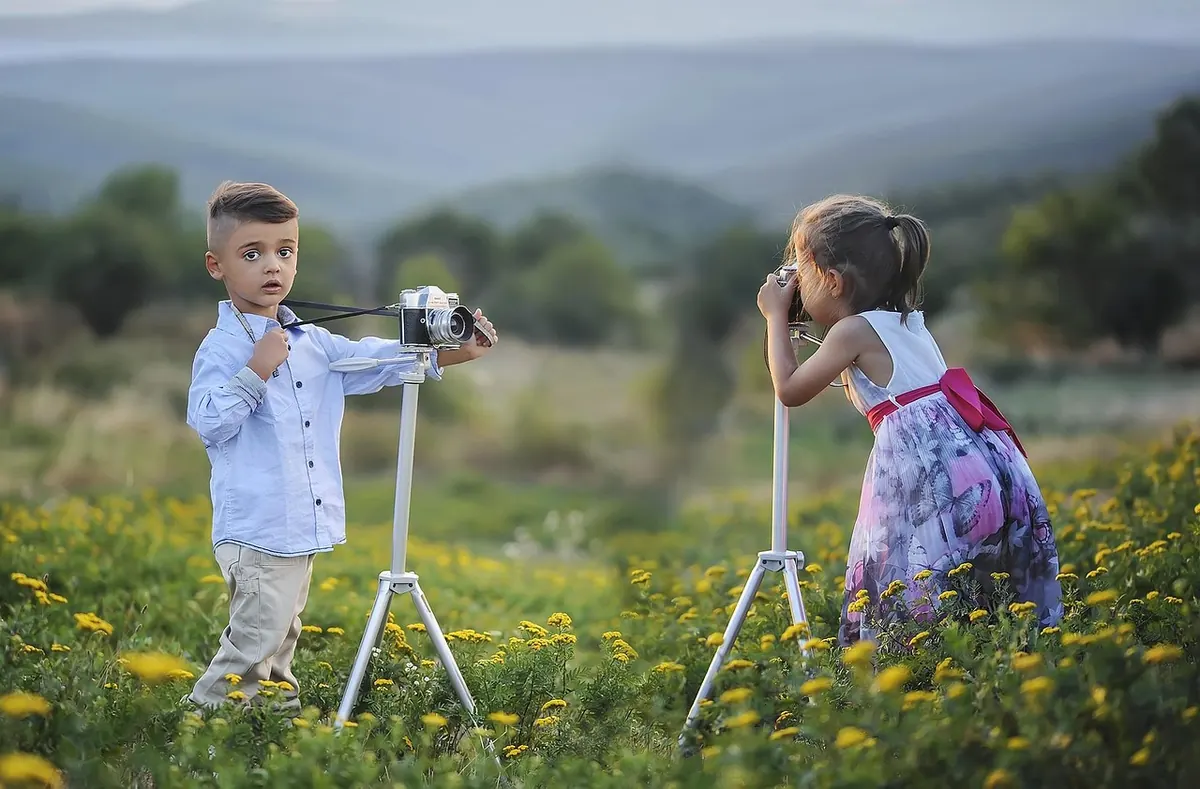
Photo: Bessi / Pixabay